Setting up fingerprint reader on Ubuntu 20.04 and Dell XPS
1. Chck if you have the fingerprint reader installed
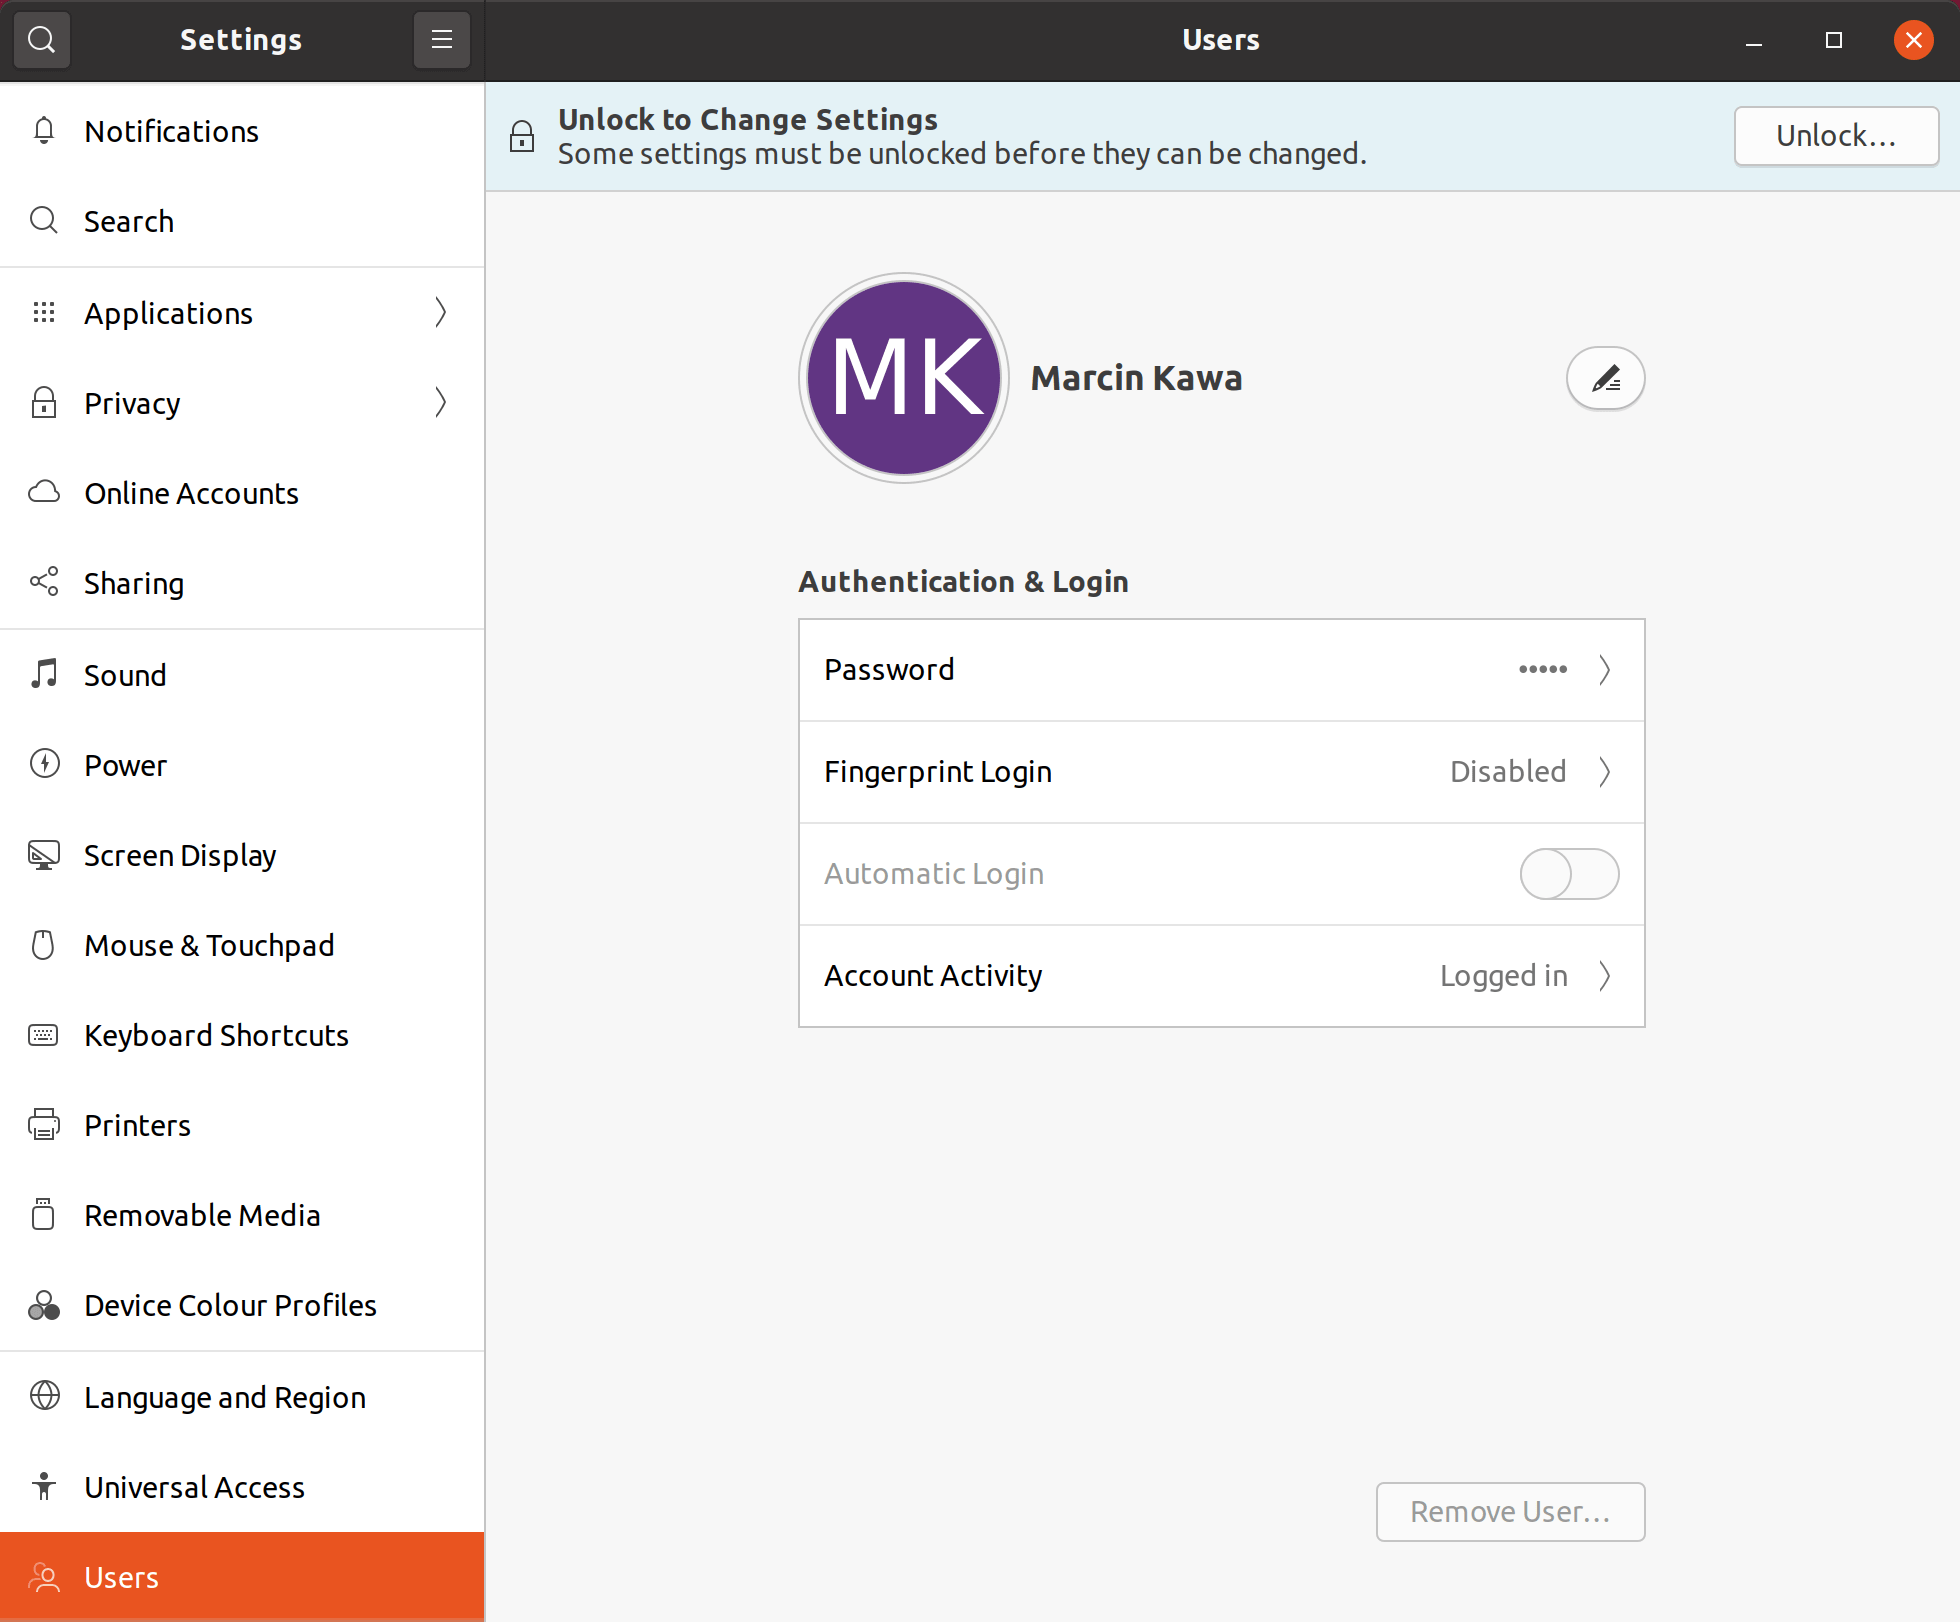
To start with have a look if your "Fingerprint Login" is not already installed. Go to Settings -> Users. If you can't see the Fingerprint Login section under the Authentication & Login, follow the steps listed below.

2. Install fingerprint reader
If you can't see the Fingerprint Login section, add the Dell repositories, update your packages cache and install required packages:
echo "
deb http://dell.archive.canonical.com/updates/ focal-dell public
deb http://dell.archive.canonical.com/updates/ focal-oem public
deb http://dell.archive.canonical.com/updates/ focal-somerville public
deb http://dell.archive.canonical.com/updates/ focal-somerville-melisa public" | \
sudo tee -a /etc/apt/sources.list.d/focal-dell.list

# Add the Dell repository key (F9FDA6BED73CDC22) to apt
sudo apt-key adv --keyserver keyserver.ubuntu.com --recv-keys F9FDA6BED73CDC22
sudo apt update

# Install fingerprint reader packages
sudo apt install -y \
    oem-somerville-melisa-meta \
    oem-somerville-meta \
    libfprint-2-tod1-goodix \
    tlp-config
3. Setup fingerprint reader
- Go to
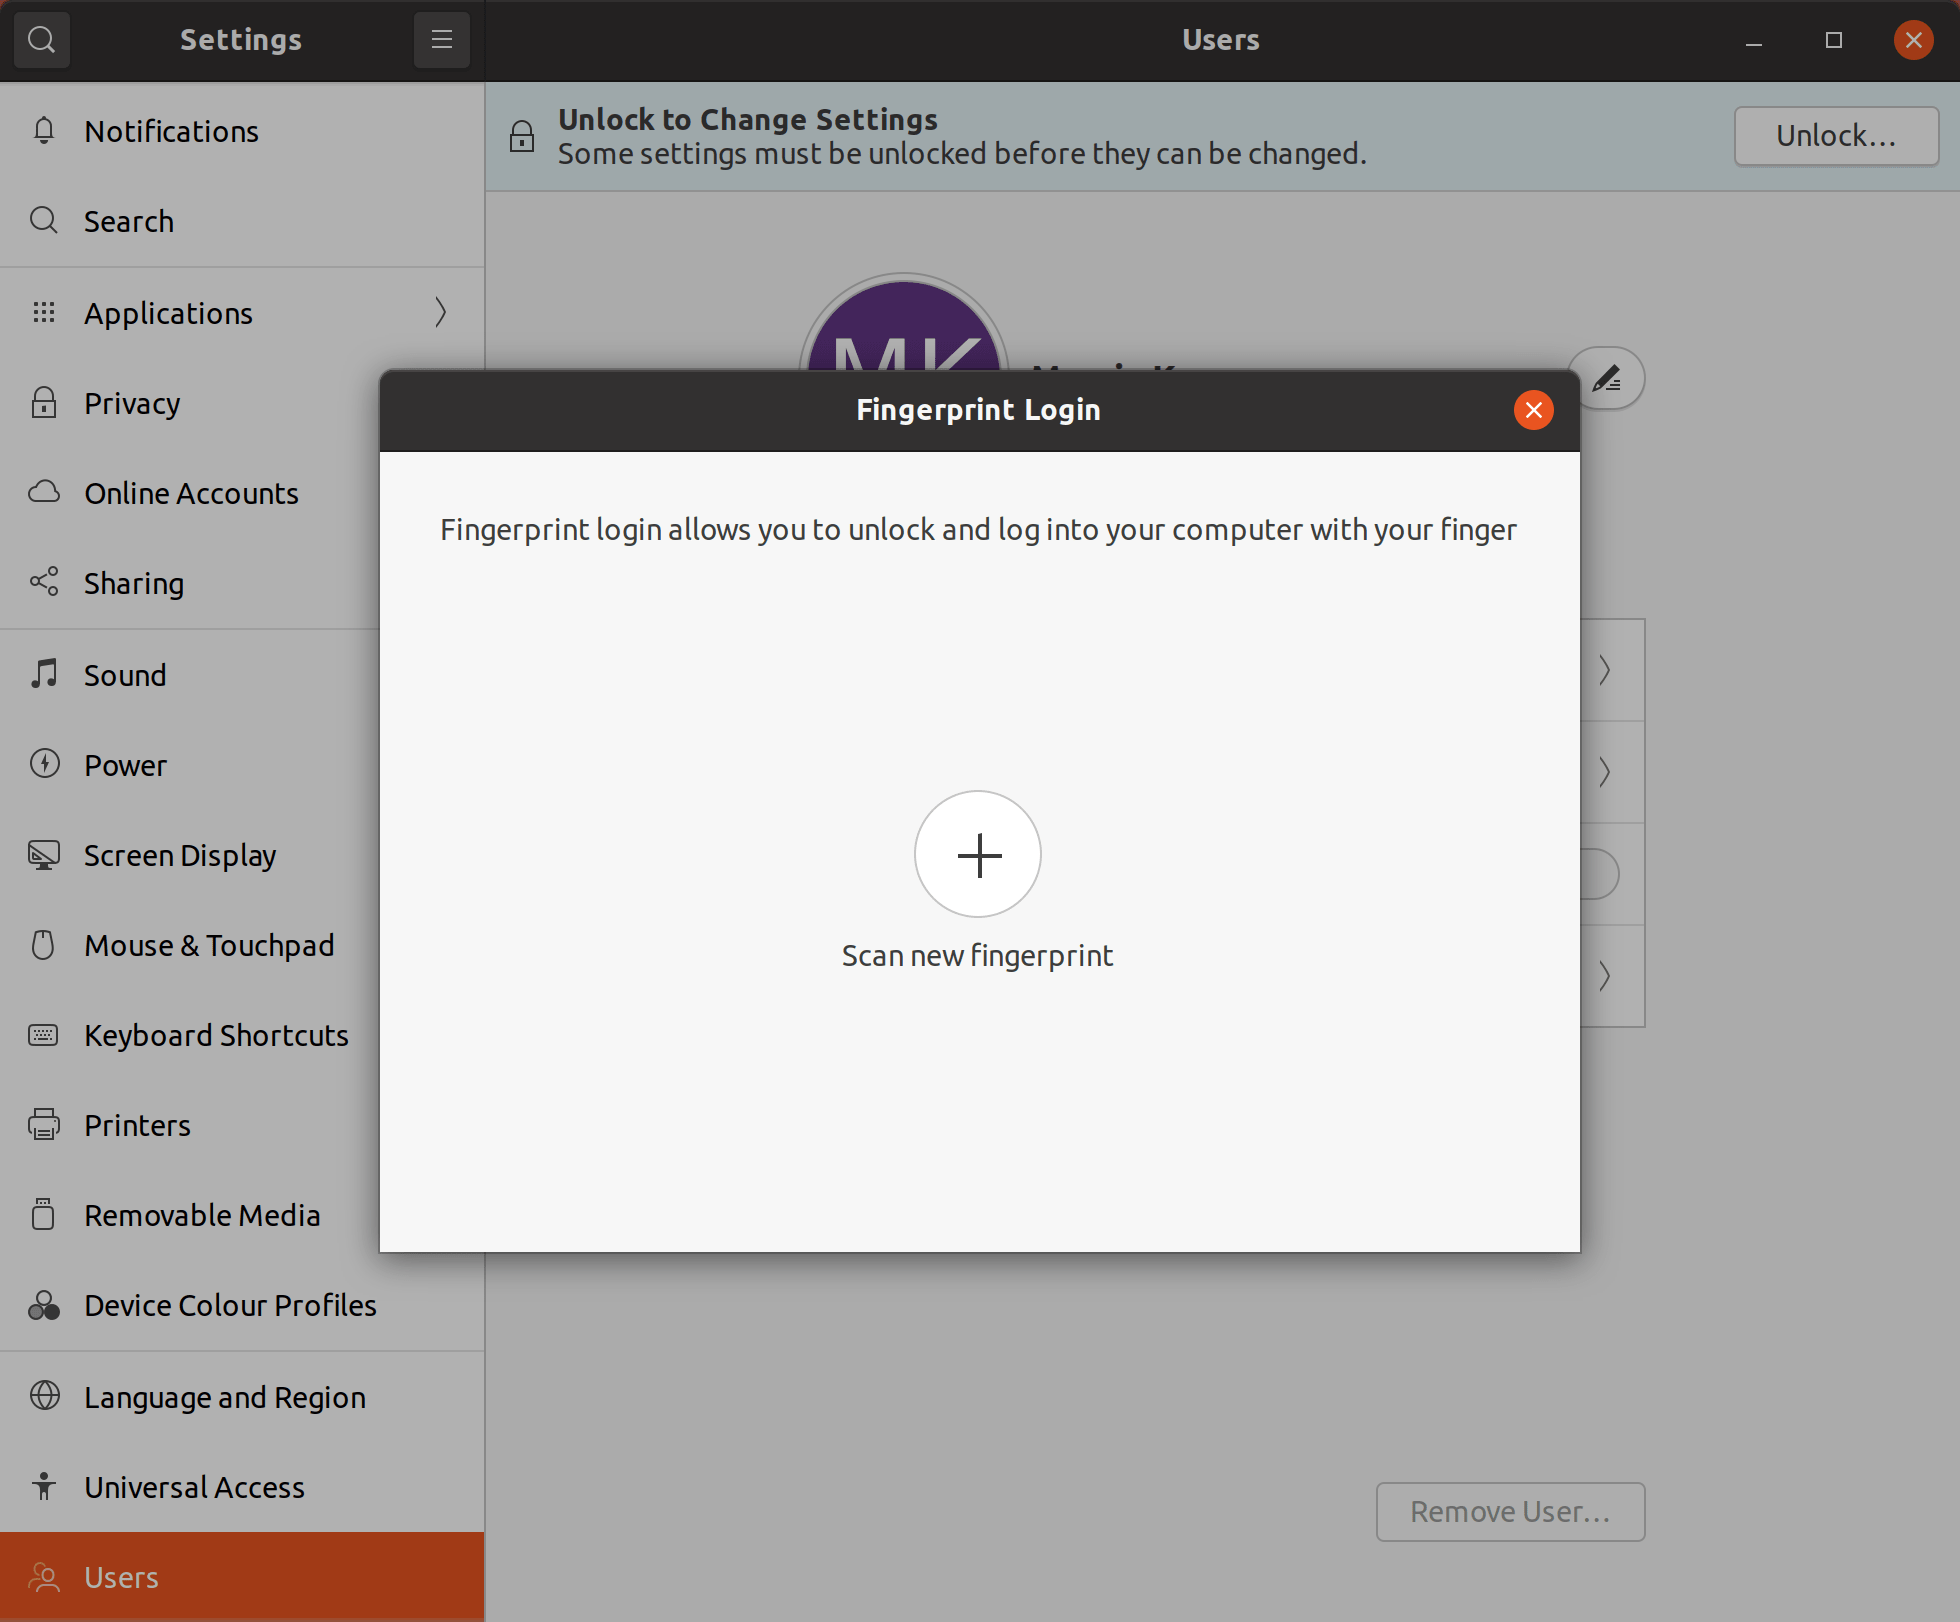
Settings -> Users, click onFingerprint Login - Click on
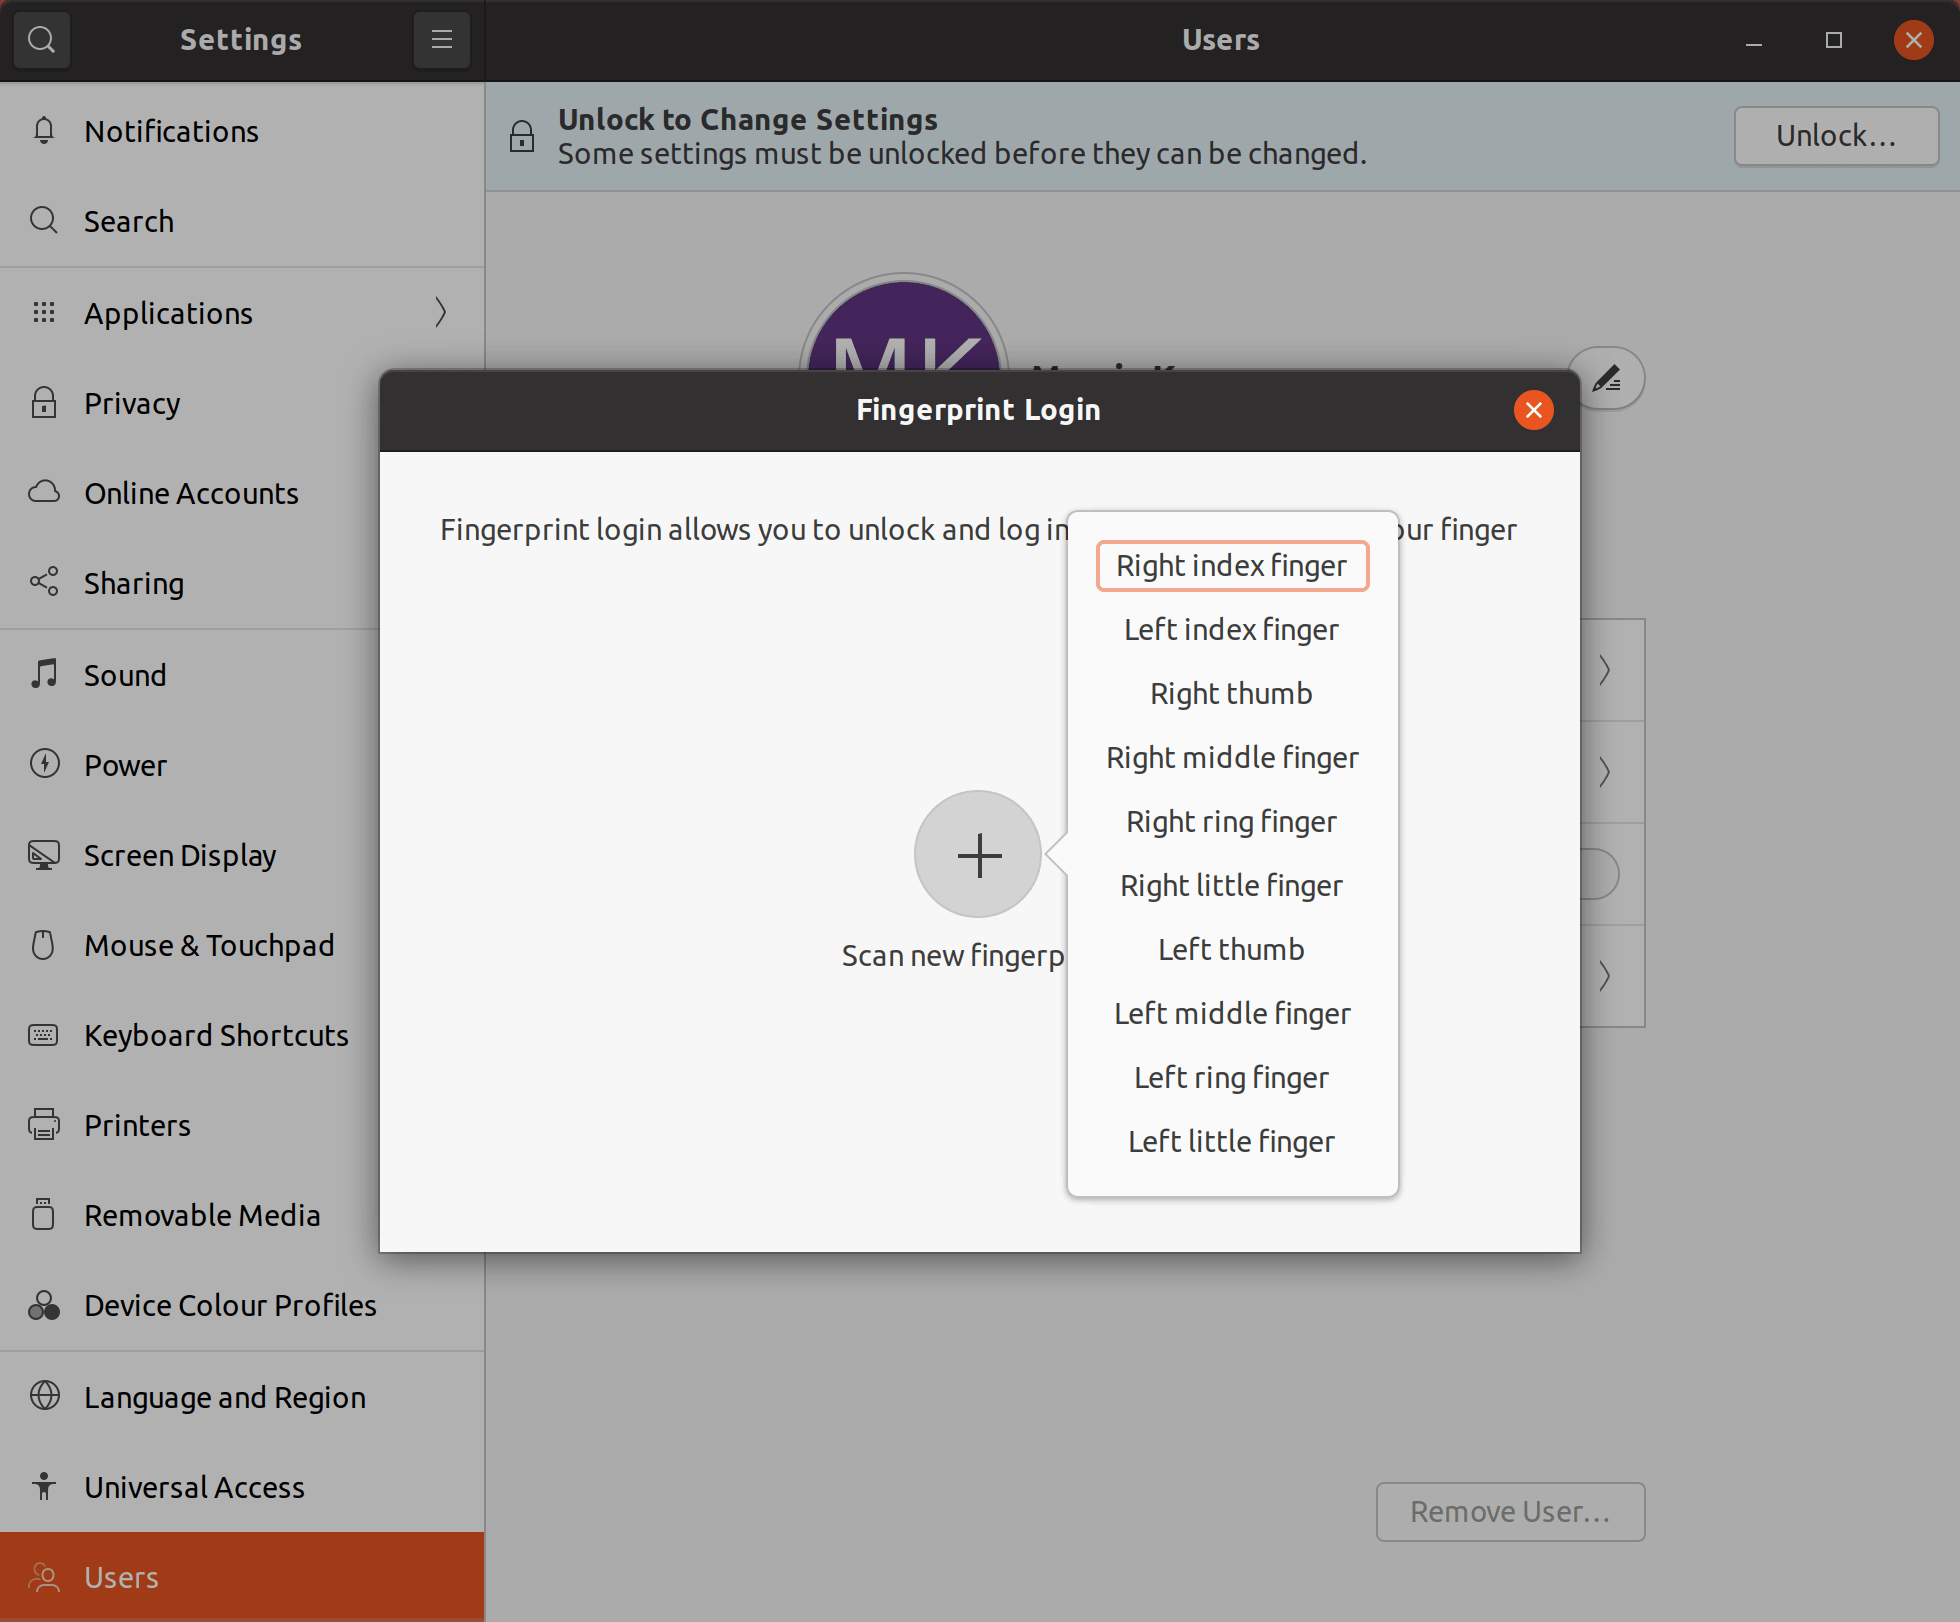
Scan new fingerprint - Choose your best and favourite finger from the list
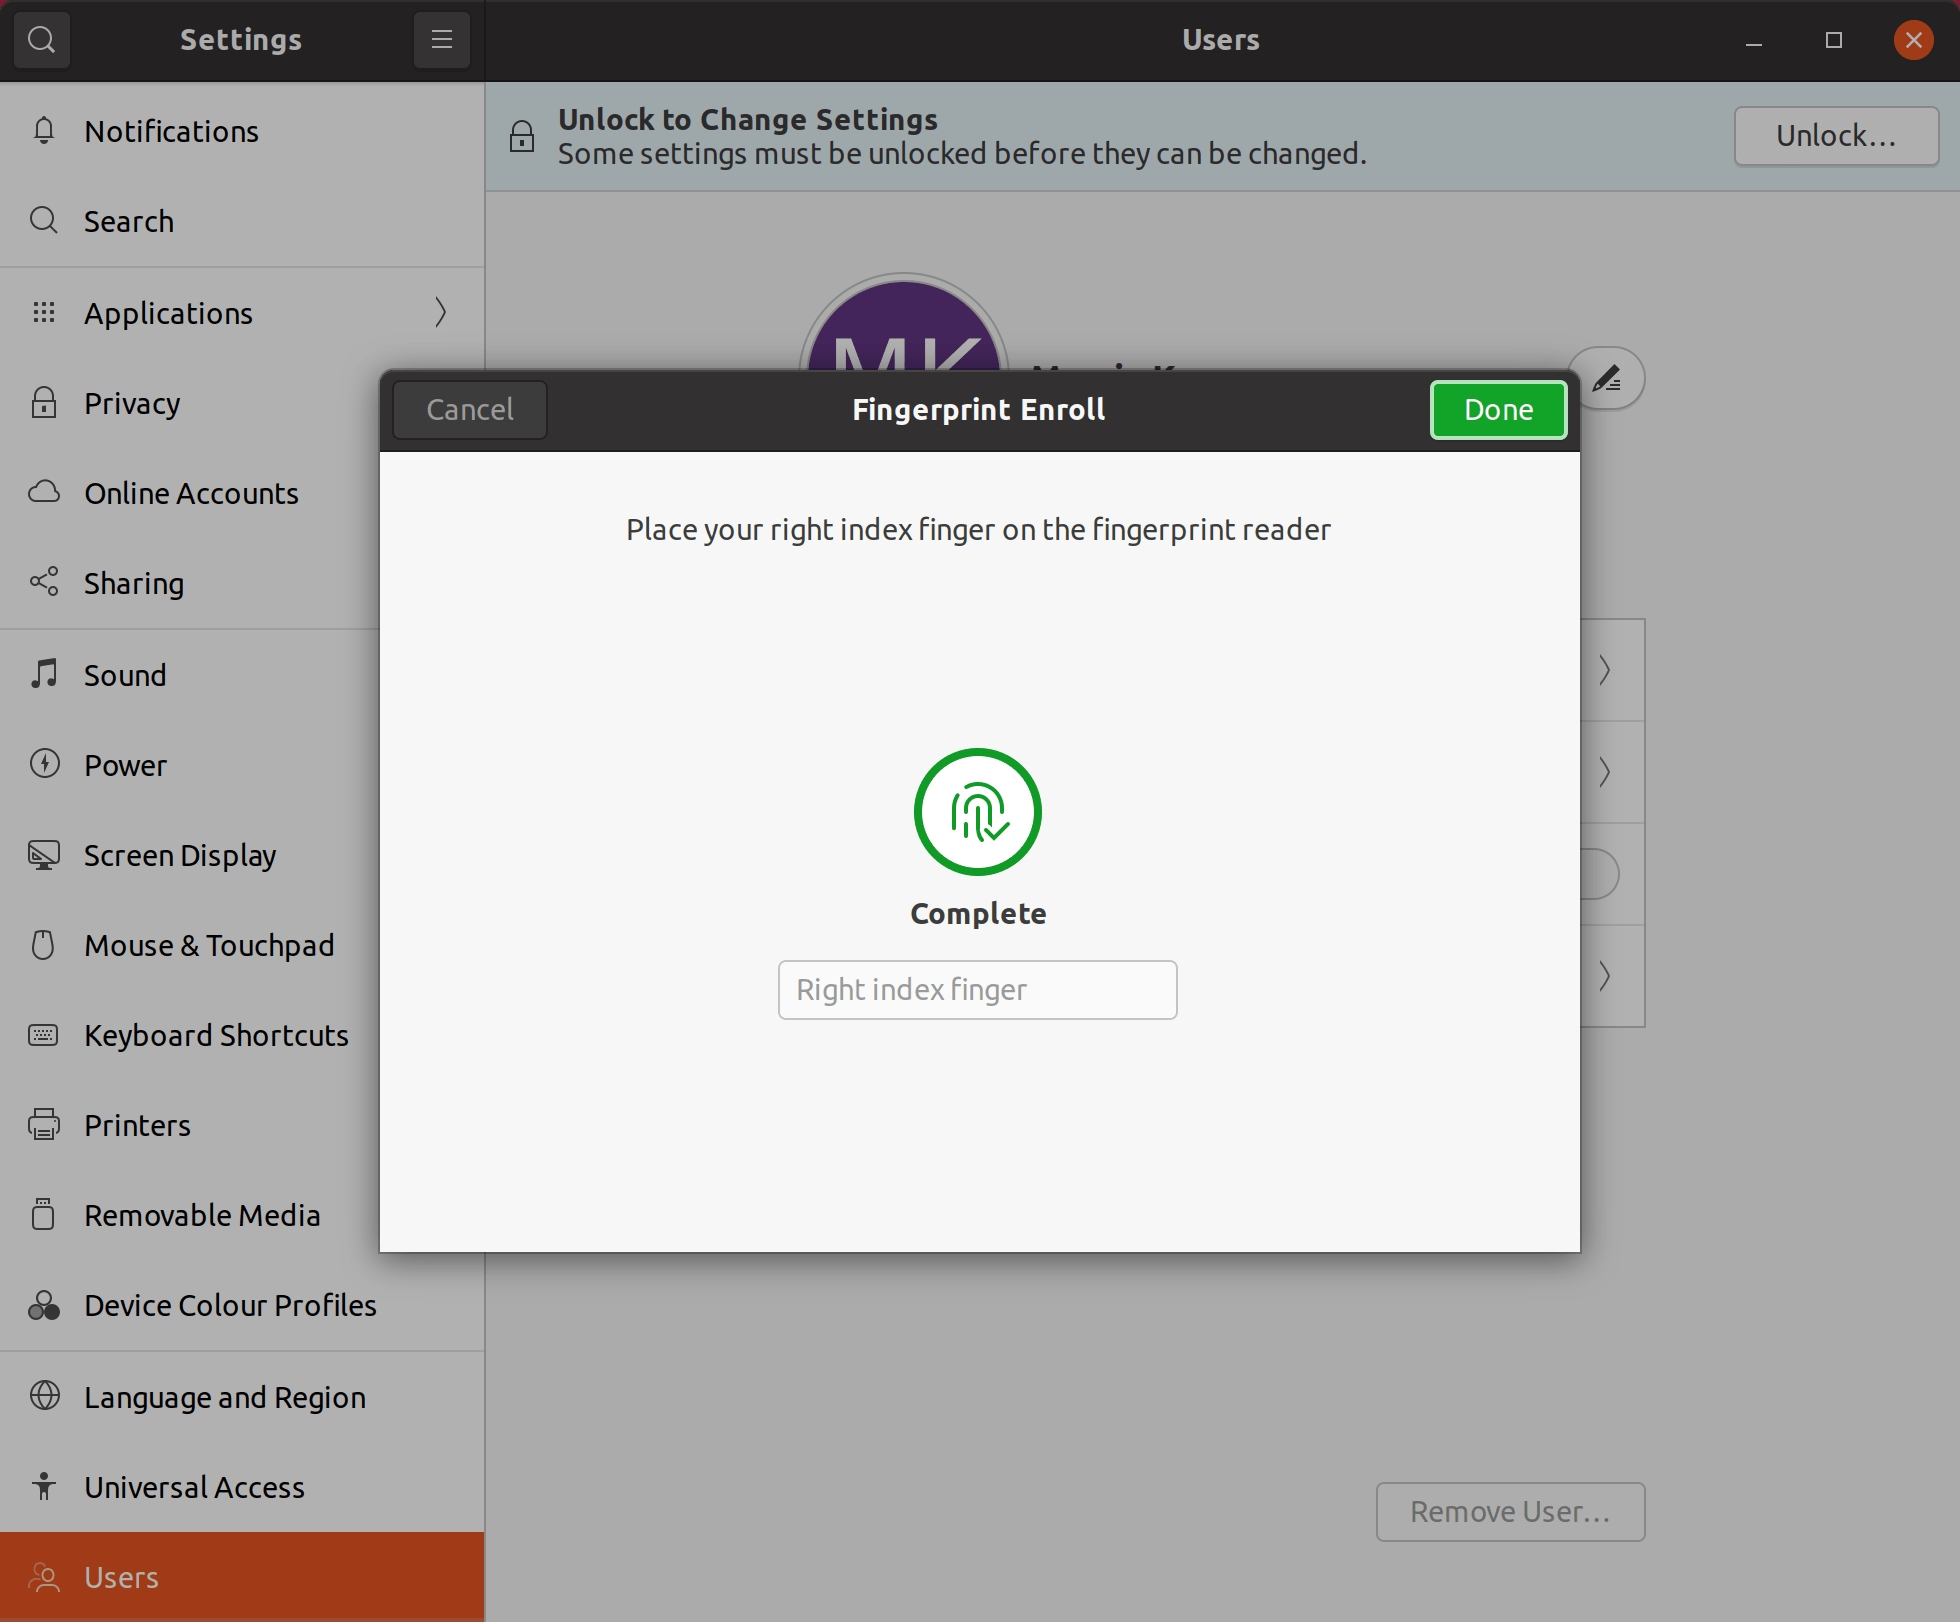
- Place your finger on the fingerprint scanner with different angles
- When the indicator turns green, your fingerprint has been added
Fingerprint Loginstatus should be changed toEnabled
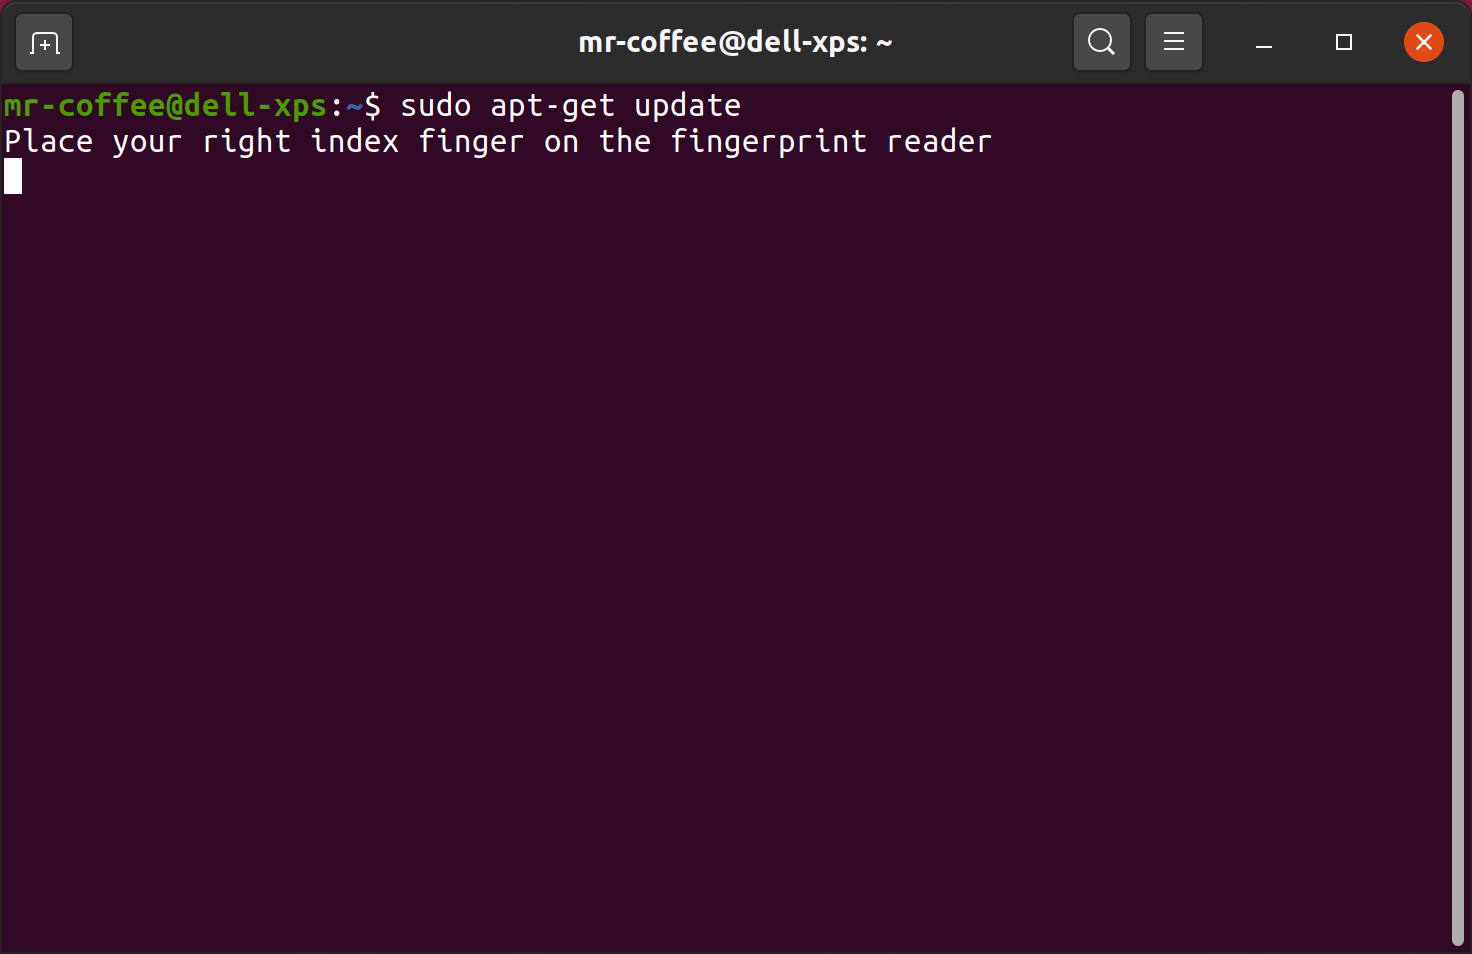
- Try the fingerprint feature in the console!


Credits: